To create a new project, follow these steps:
- Go to Projects and click on the + tile to add a new project.
- Specify its unique ID. This ID will be used as a project path in the future, it should contain URL characters only (avoid spaces and special characters).
- The new project will appear under the project list; click on Settings to edit it.
- Edit the project’s metadata. On the left, specify the Data Store and existing Source Table that you need to visualize – in our case, table ‘test_table’ from datastore ‘test (PostGIS).’

Click to add new project 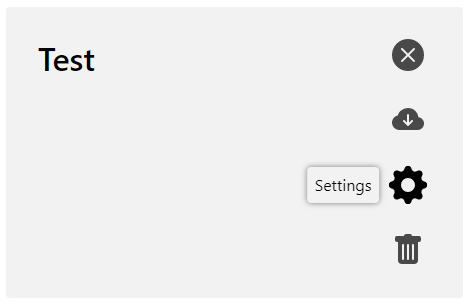
Click to edit project settings 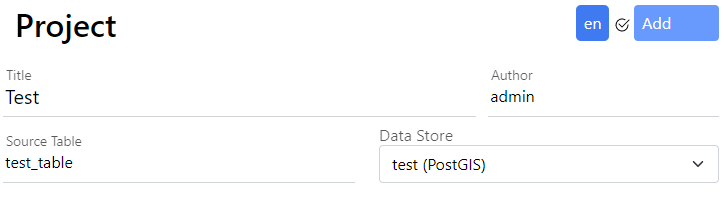
Edit source table and datastore
After completing these 4 steps, click on the blue Save button in the bottom left part of your screen.
Now, everything is ready for the setup of the other parts of your project, which is addressed in the following chapters.
Alternatively, you can import the project settings from a JSON file in step 2 above.